創楽【車カスタム】
Weber carb DCOE overhaul
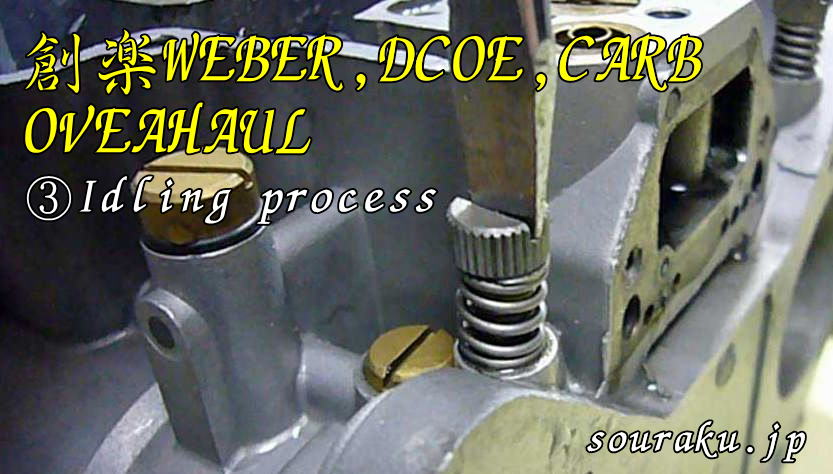
③Idling process

Weber DCOE overhaul
Category
| ①First・Venturi effect | ②Float・needle | ③Idling process |
| ④Pump・main process | ⑤Starter process | ⑥Summary |
創楽【車カスタム】ウェーバーキャブDCOE
カテゴリー
| セッティング | オーバーホール | 外車のセッティング数値 |
| 国産車のセッティング数値 | サニー 取付け例 | ハーレー 取り付け例 |
| ミツバ フェーエルポンプ | S20 ソレックスデータ | |
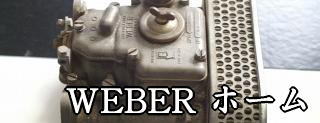
| ウェーバーDCOEホーム | 創楽・車カスタムホーム | 創楽・ホーム |
overhaul
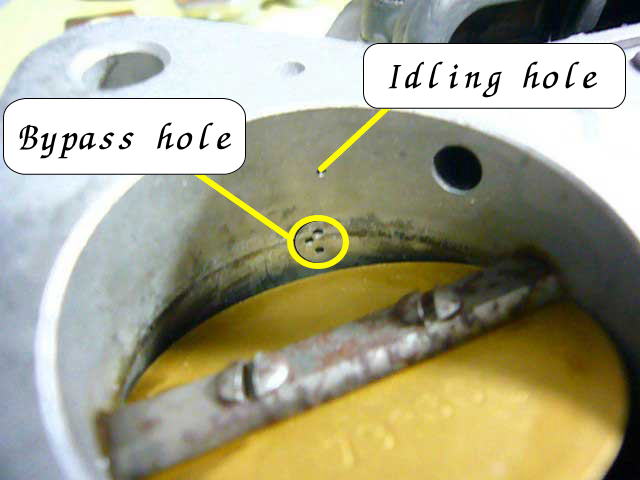
Idling process
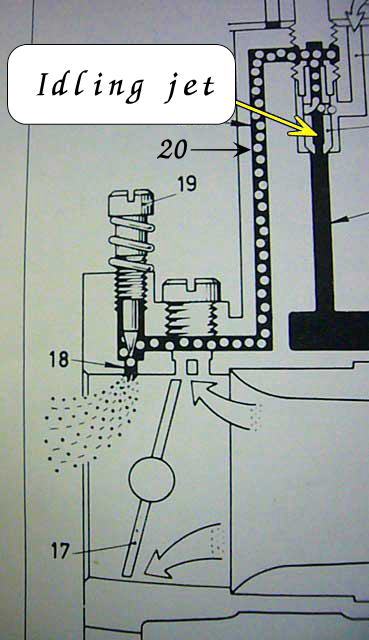
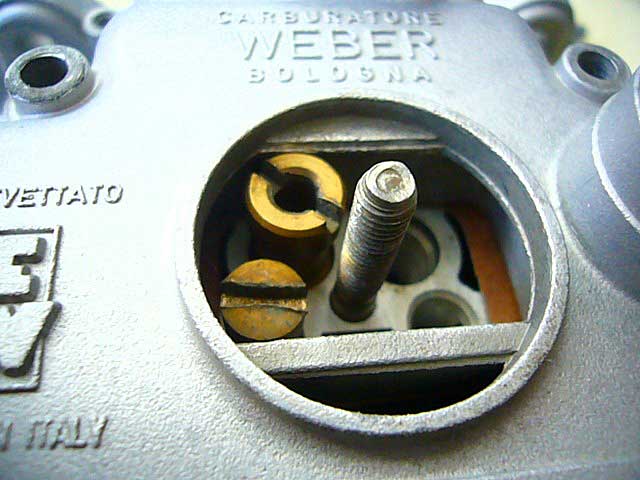
Position of idling jet
System which is responsible for low /
medium speed operation and idling state
(Idling route) overhaul.
The picture shows the idling state.
Using an idling jet, inject the appropriate
fuel and air to find the mixture.
The mixture passes through No. 20
passage and is adjusted with No. 19 idling screw.
Spray from the 18th hole.
Naturally as it is naturally aspirated,
because of the suction power of the engine
And is sprayed. The important place is
that this suction power is 17th Battaf
The opening and closing of
Rai is to become very important!
I also talked about the first page, but if there
are variations in the sealing of the
left and right butterfly valves,
The left and right suction force varies and
the idling adjustment becomes impossible
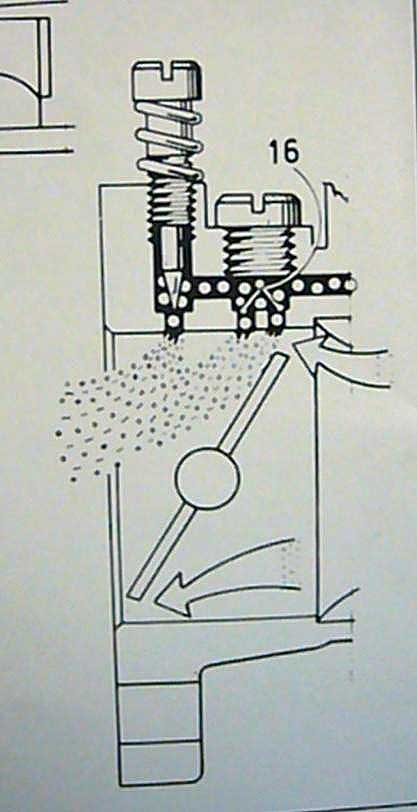
Weber carburetor setting
This way
The picture shows the state of the
carburetor with low and medium
speed driving.
When the butterfly valve opens,
from 16th bypass hole
The mixture flows.
This 16th bypass hole enters air during idling,
Dilute the idling mixture.
Then it will atomize and improve
the mixing ratio of air and fuel.
Weber carburetor
Remove the upper jet cover,
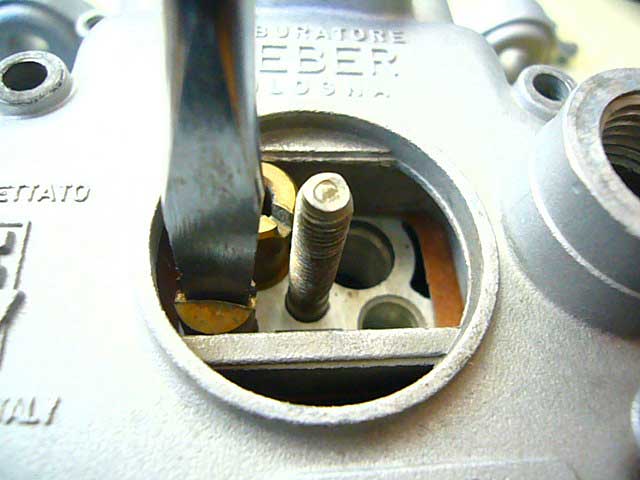
Take out the idling jet.
The idling jet is slightly smaller on the intake side.
It seems that the picture is taking out.
Please use a large flathead screwdriver.
If it is small, the screw head will be damaged.
It is a picture taken out an idling jet.
This is a state with a jet
attached to the idling holder.
A state where a jet is
removed from an idling holder
Idling jet №
Please check if it is optimum.
Setting standard data
This way
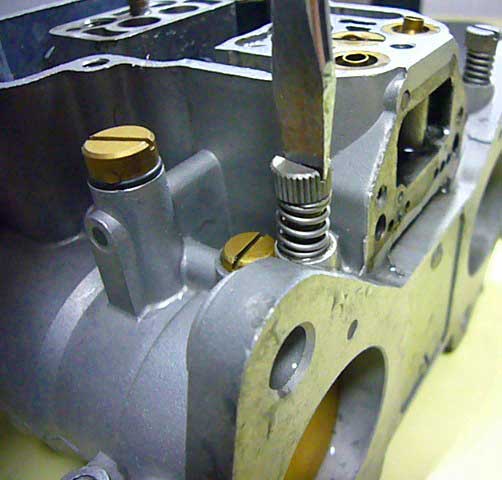
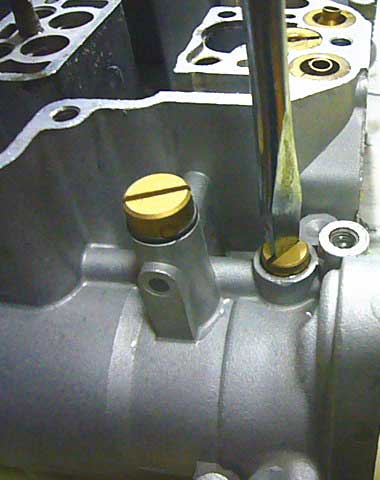
I will check the main body.
First, remove the idling screw.
It is important to note here that,
This carburetor from your own production car
When overhaul is removed for the purpose
Once tightened, how many turns you closed,
please check.
It is a standard when I return it.
The standard is one
and a half turns.
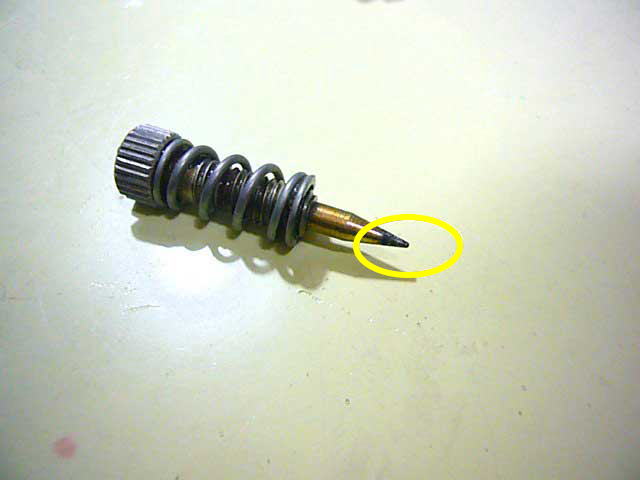
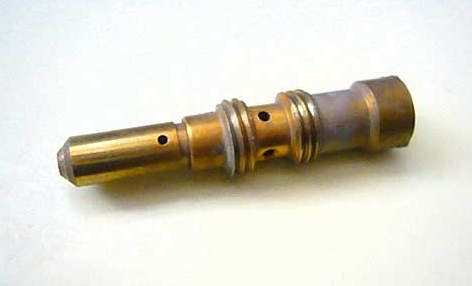
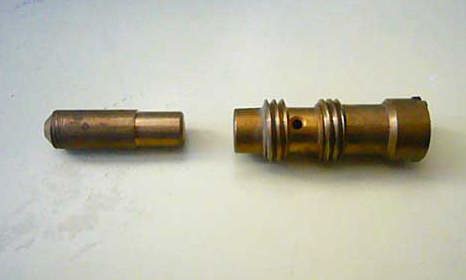
I removed the idling screw
Check the screw tip.
If there is damage,
Supplied to each cylinder at idle
Mixture is not stable
Remove the screw immediately behind the
idling screw. This part is an important part to confirm.
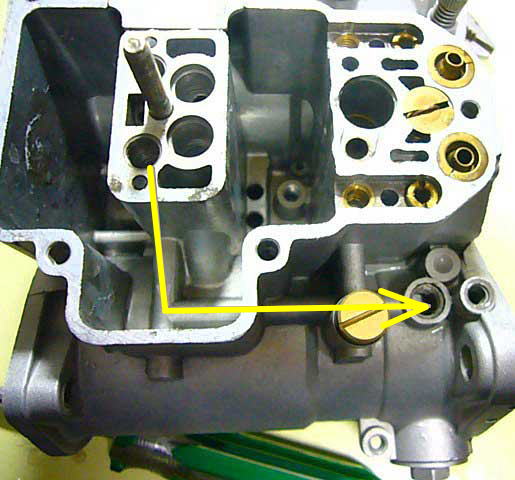
Removing all the idling screws,
Clean the idling path. The route to wash is the
arrow part of the photo. This is the idling route.
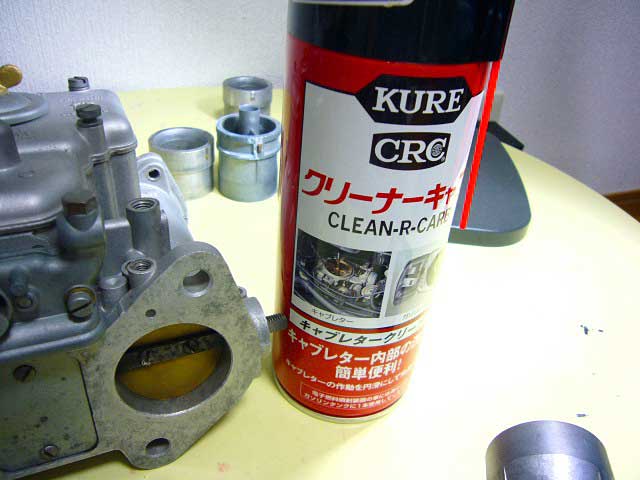
I will use the carburetor cleaner.
Very powerful, please do not put on the skin.
Please be careful with fire and
high temperature when using.
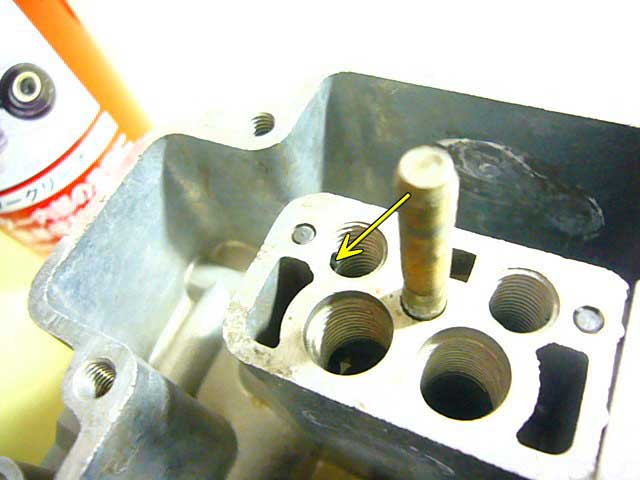
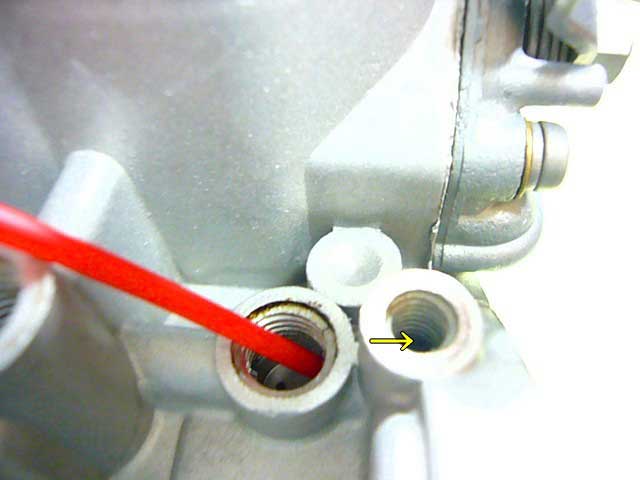
First, an idling jet
From the holder mounting opening
(Yellow arrow) portion of the cleaner.
Cleaner from idling holder
Injection.
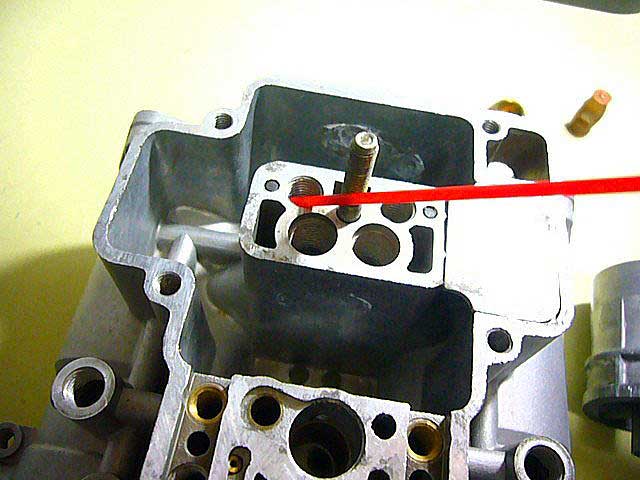
Cleaner from idling holder
Confirm that the injected cleaning
solution comes out from the arrow.
Also like a photo cleaner
Confirm that it exits from
the spraying arrow
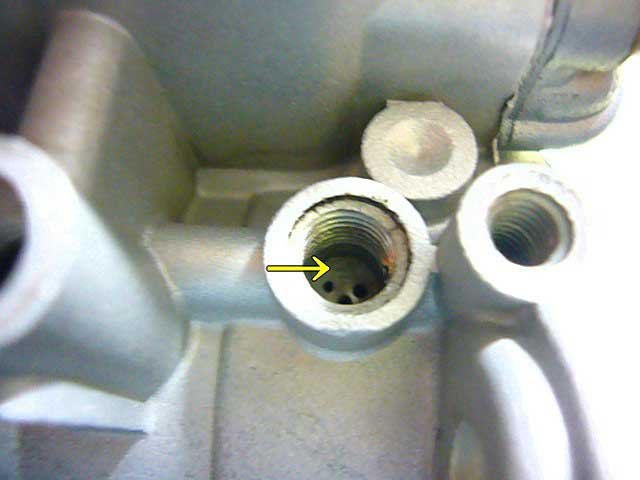
Cleaning / confirmation of the
idle route is completed with this
To do. Wash the other side as well.
From the top of the opened screw cleaner
From the idle hole and bypass hole
Confirm that the cleaning solution comes out.
After confirming the idling route,
Assemble in reverse order.
The idling screw is put in full force
Please do not close.
The tip of the screw will
be damaged. (Caution)
| ④Pump・main process |
Weber DCOE overhaul
Category
| ①First・Venturi effect | ②Float・needle | ③Idling process |
| ④Pump・main process | ⑤Starter process | ⑥Summary |
創楽【車カスタム】ウェーバーキャブDCOE
カテゴリー
| セッティング | オーバーホール | 外車のセッティング数値 |
| 国産車のセッティング数値 | サニー 取付け例 | ハーレー 取り付け例 |
| ミツバ フェーエルポンプ | S20 ソレックスデータ | |
| ウェーバーDCOEホーム | 創楽・車カスタムホーム | 創楽・ホーム |
55